


A simple but very custom wall update that I love
and the best part? it can be done with supplies from the craft store

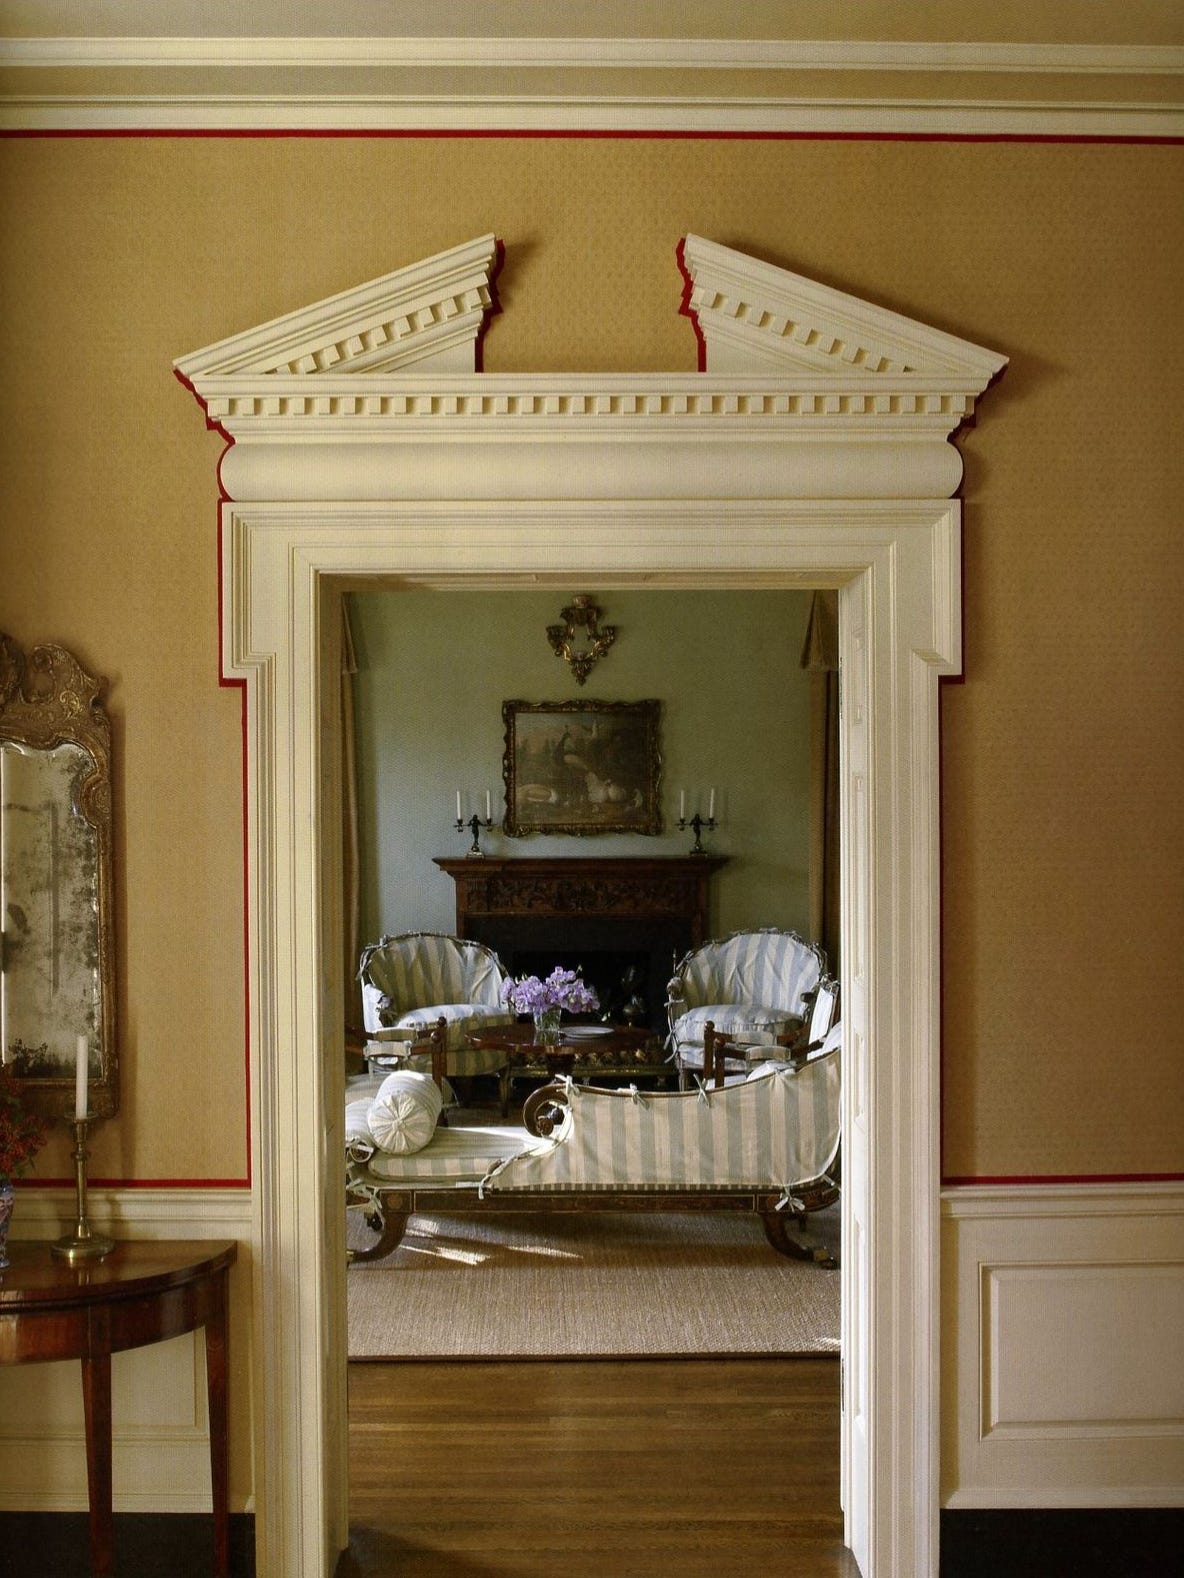
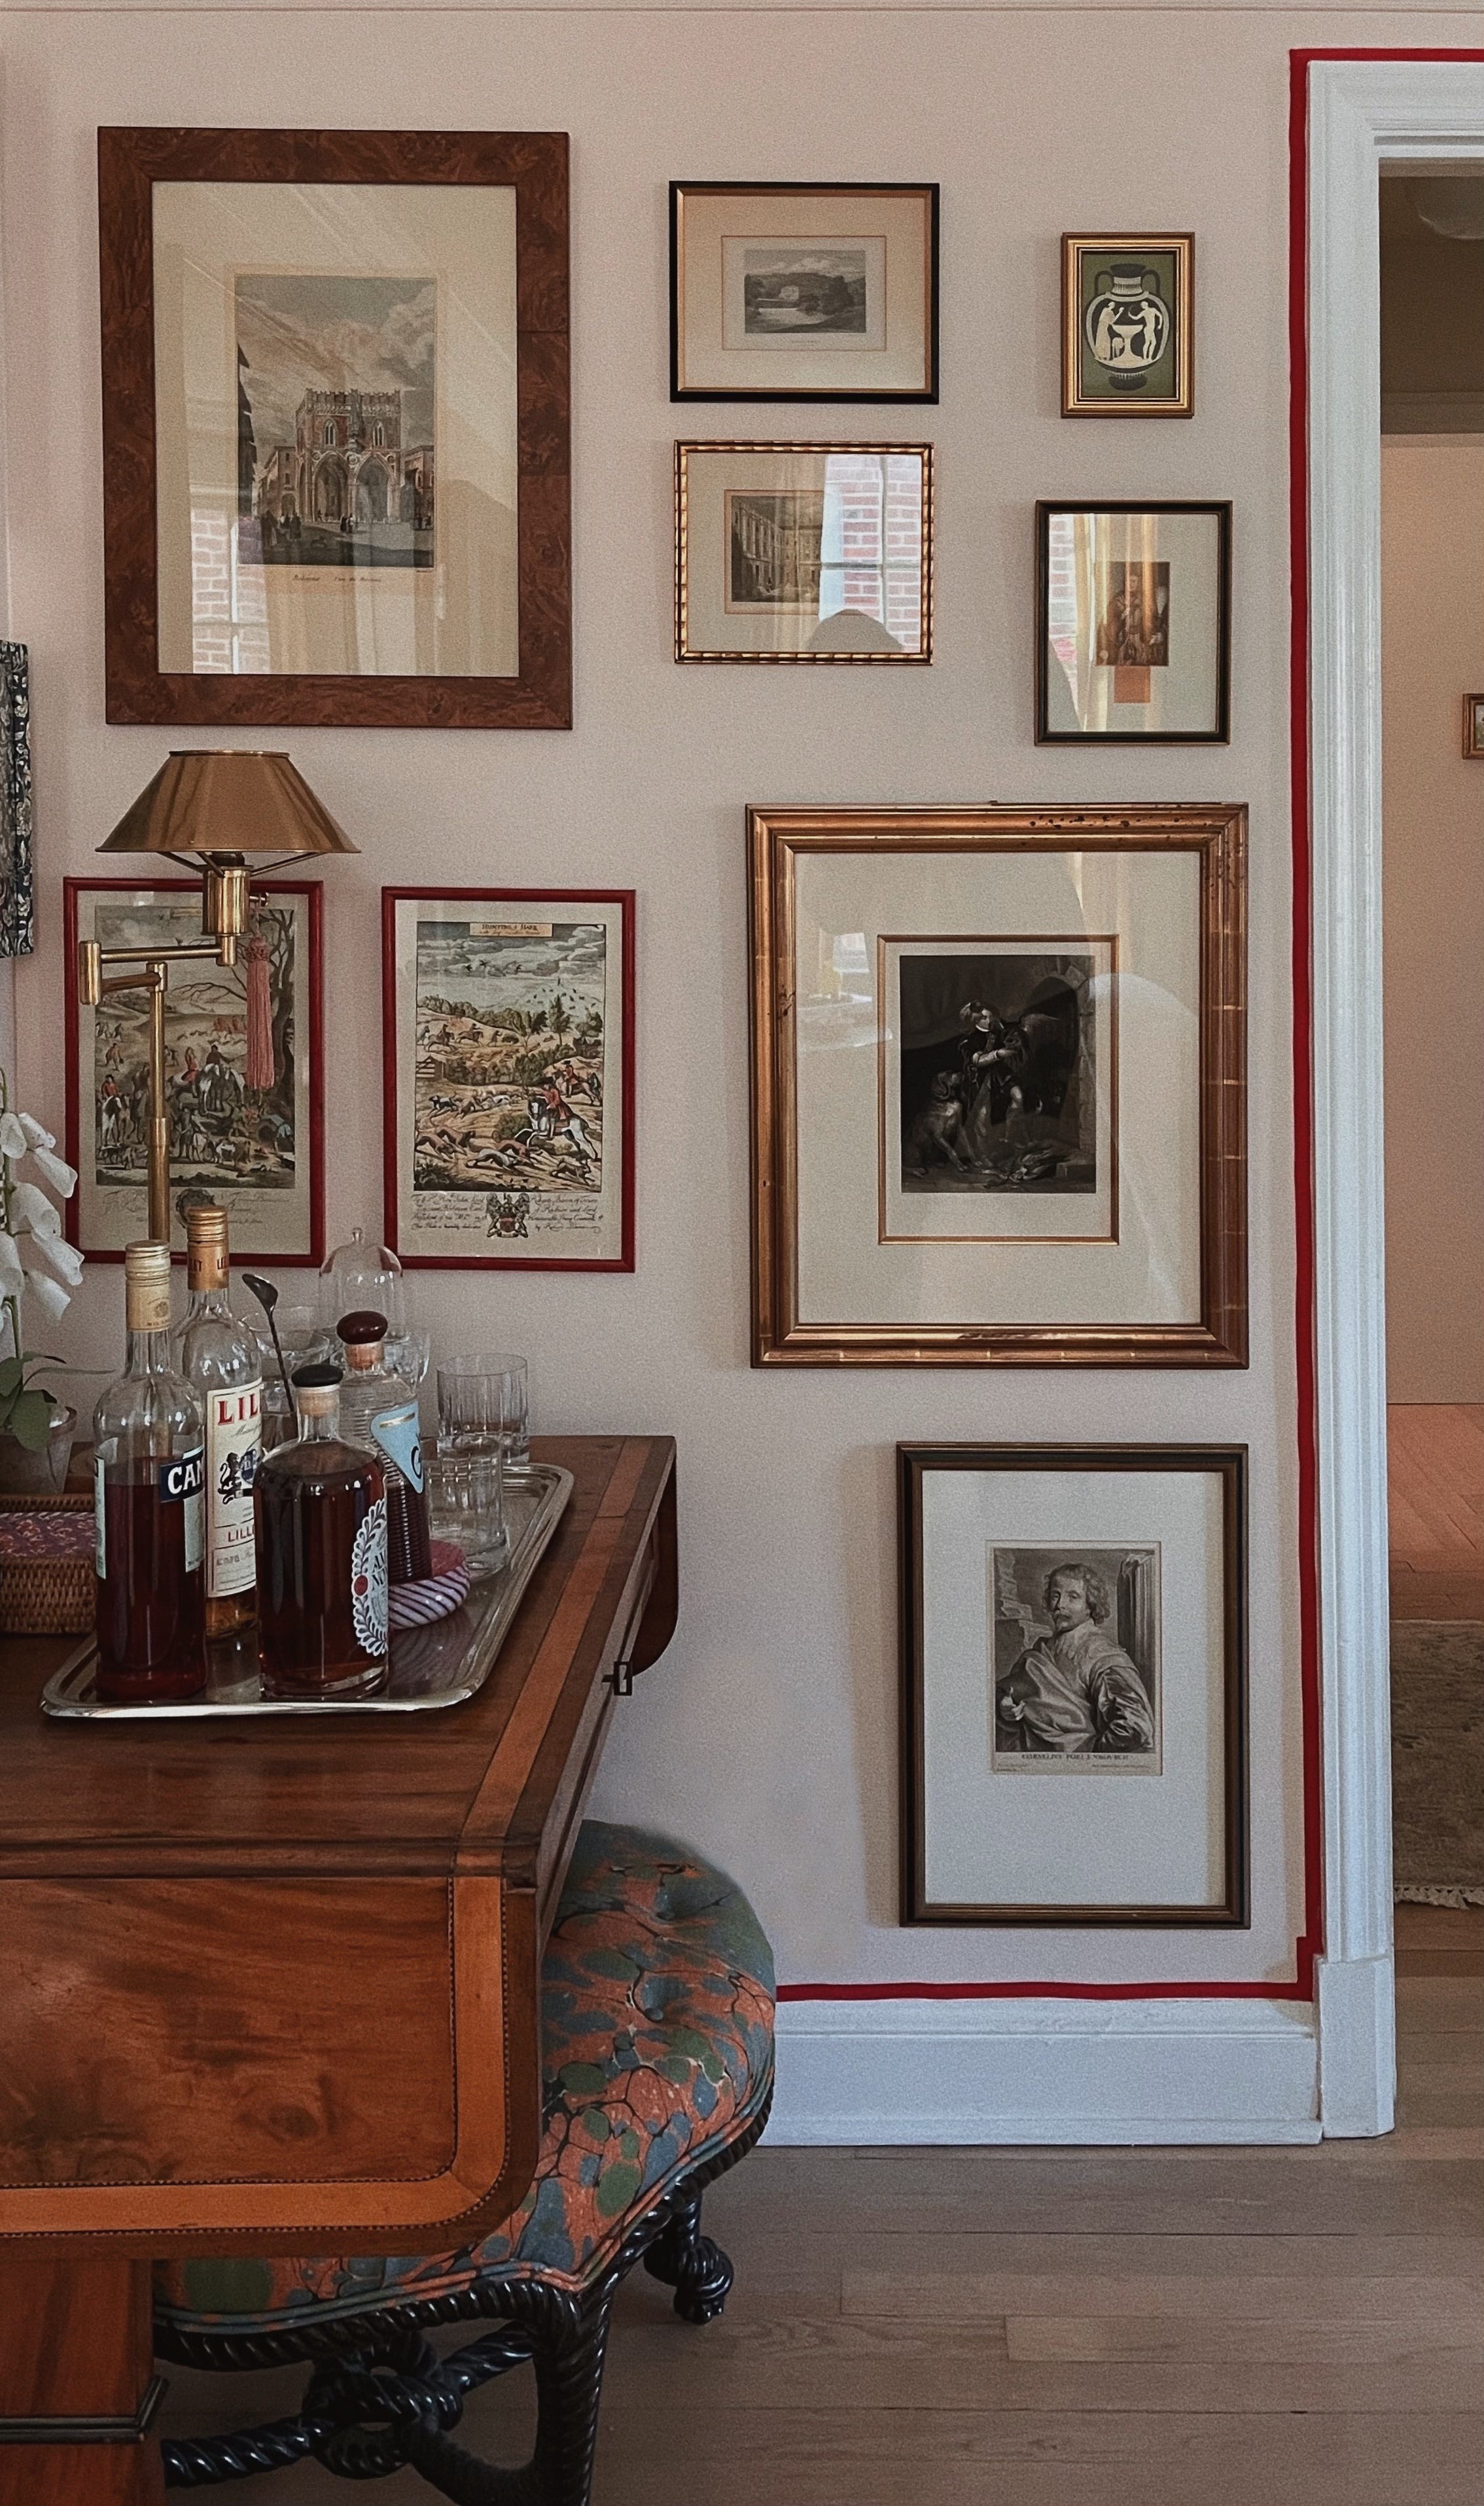
I am all about slow, purposeful designing, and I’m not embarrassed to say that adding this particular touch to my own home took almost five years of living in the space to actually implement. The idea for it, however, took root much longer ago when I started touring historic homes- and it really settled into my brain in 2015 on a trip to Charleston when I was touring the Nathaniel Russel house. Finally (many years later!), I added it to my own living room, and more recently, to the living room at The Gables. By this point, you may have guessed it: I’m talking about decorative ribbon trim that follows the line of millwork, crown, doors, or shape of a room to add a decorative border and a touch of contrast.

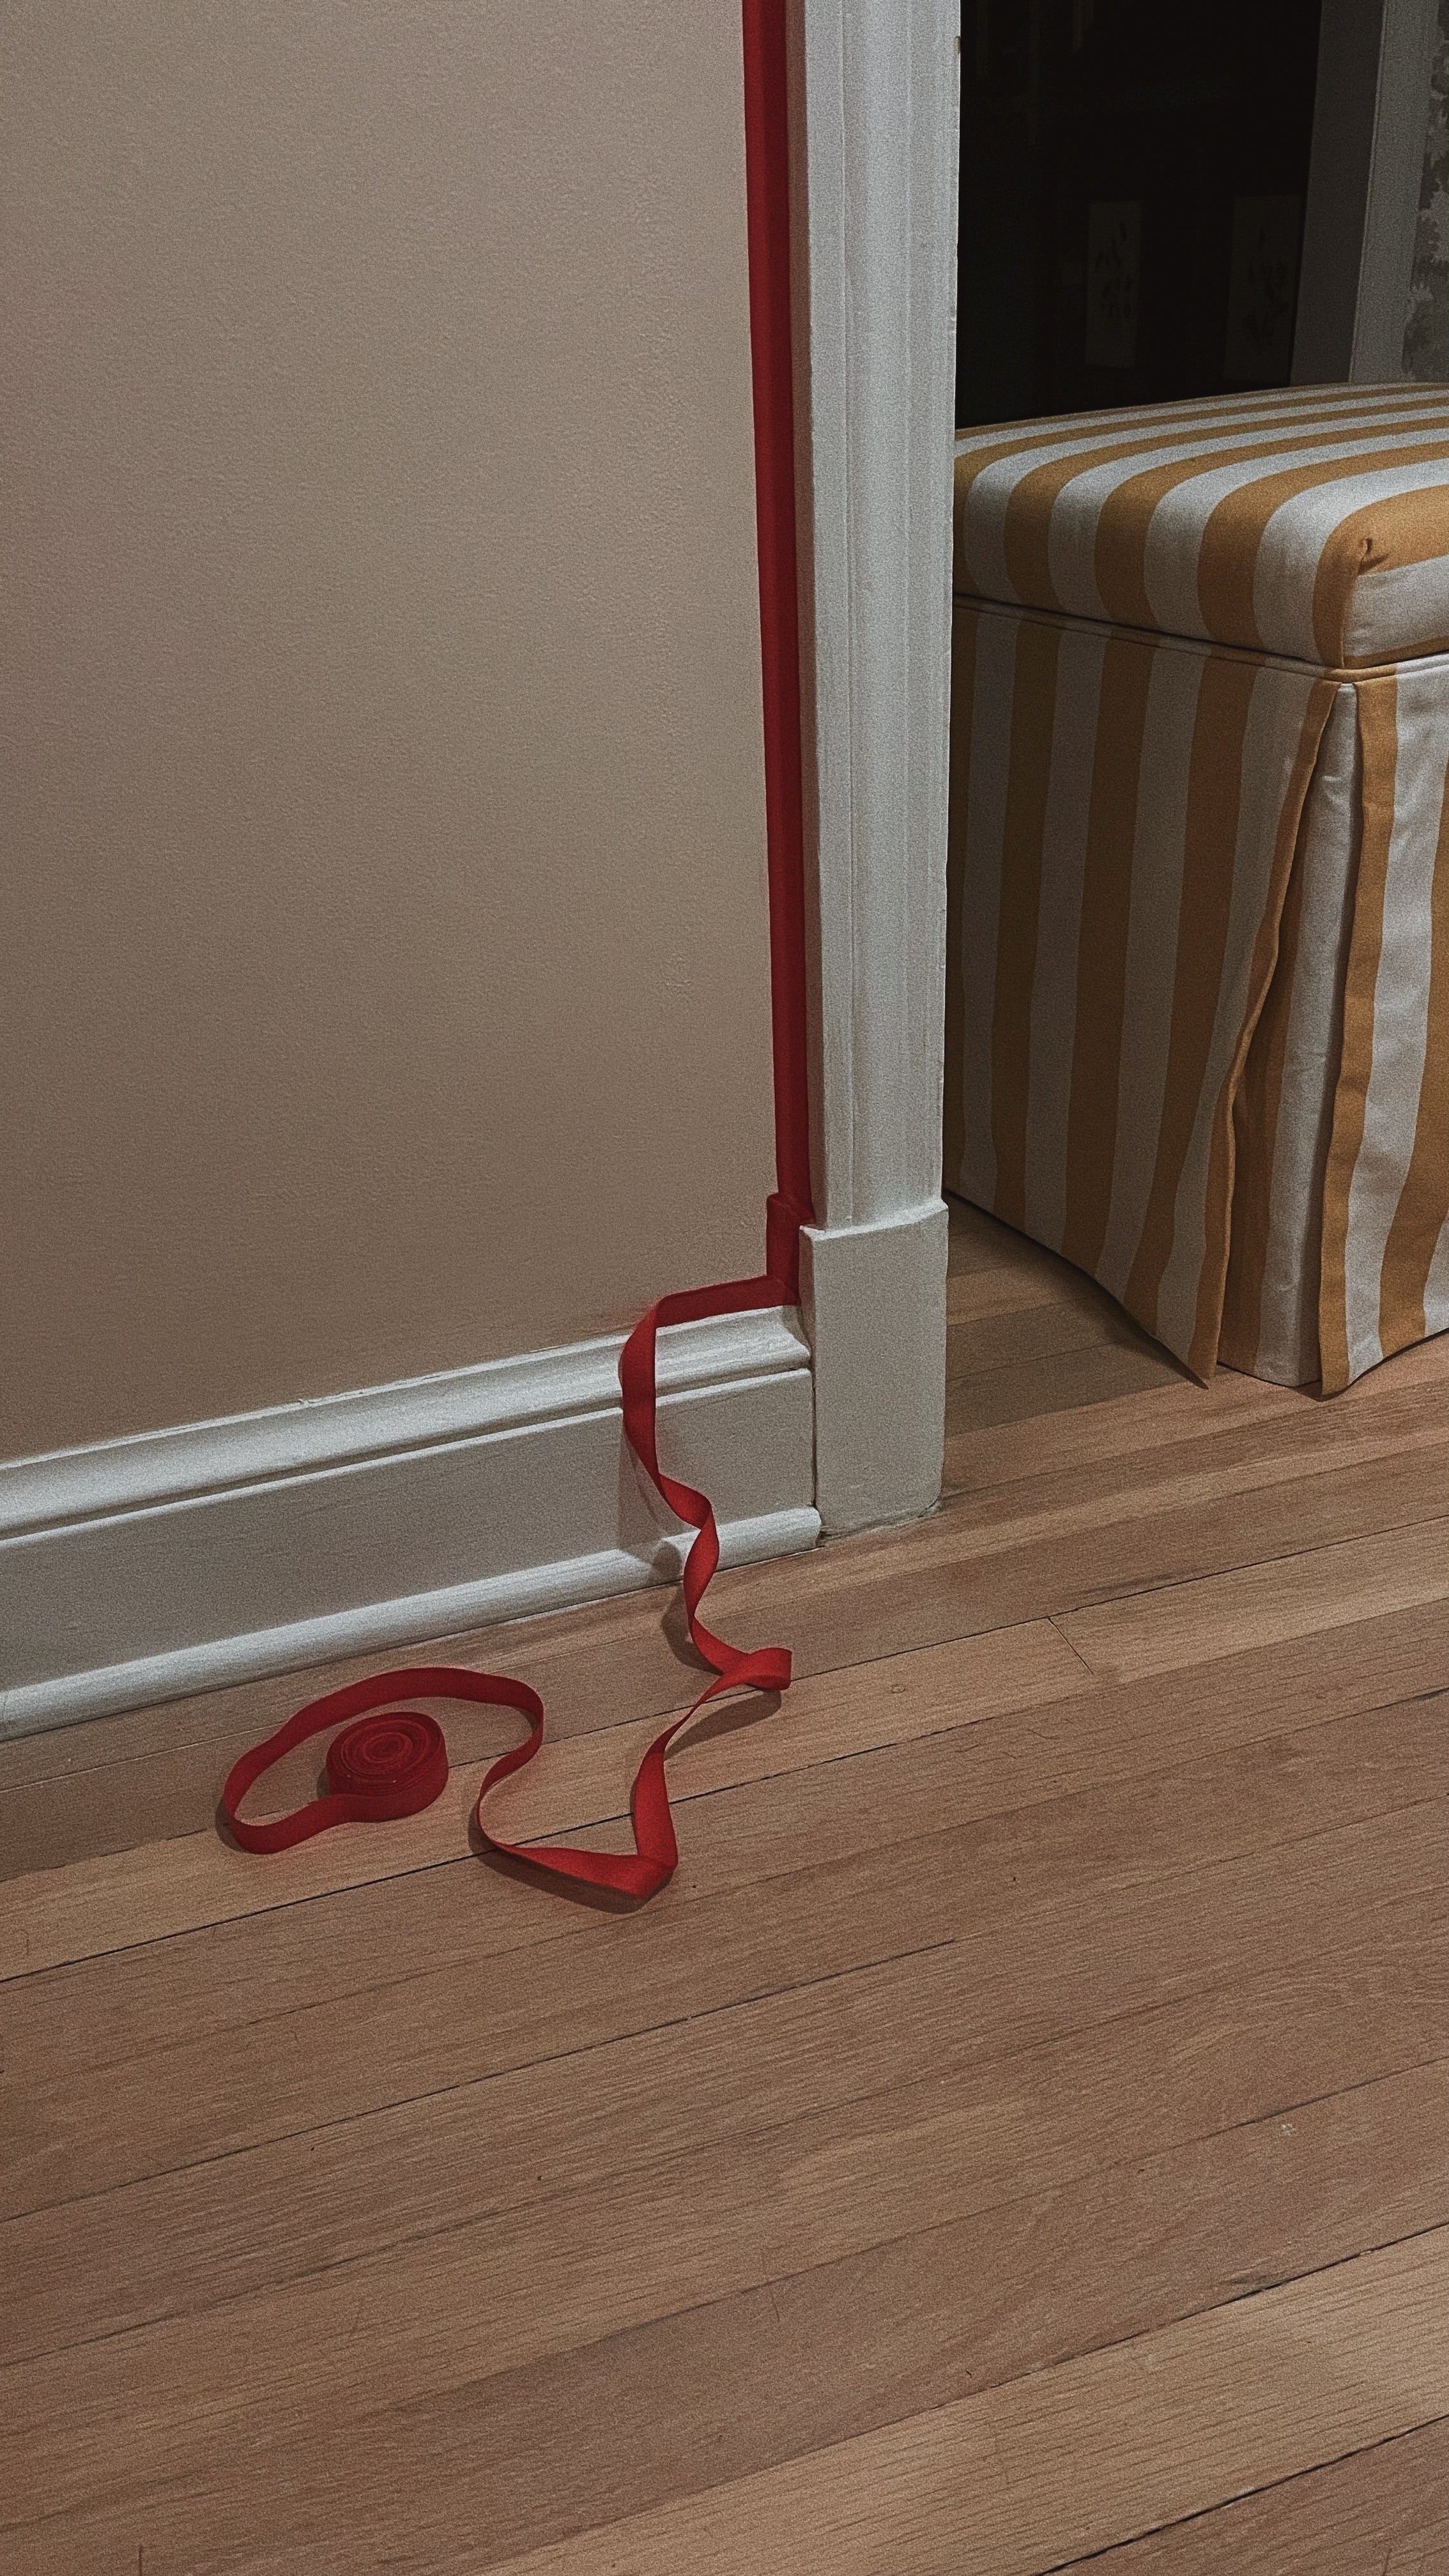
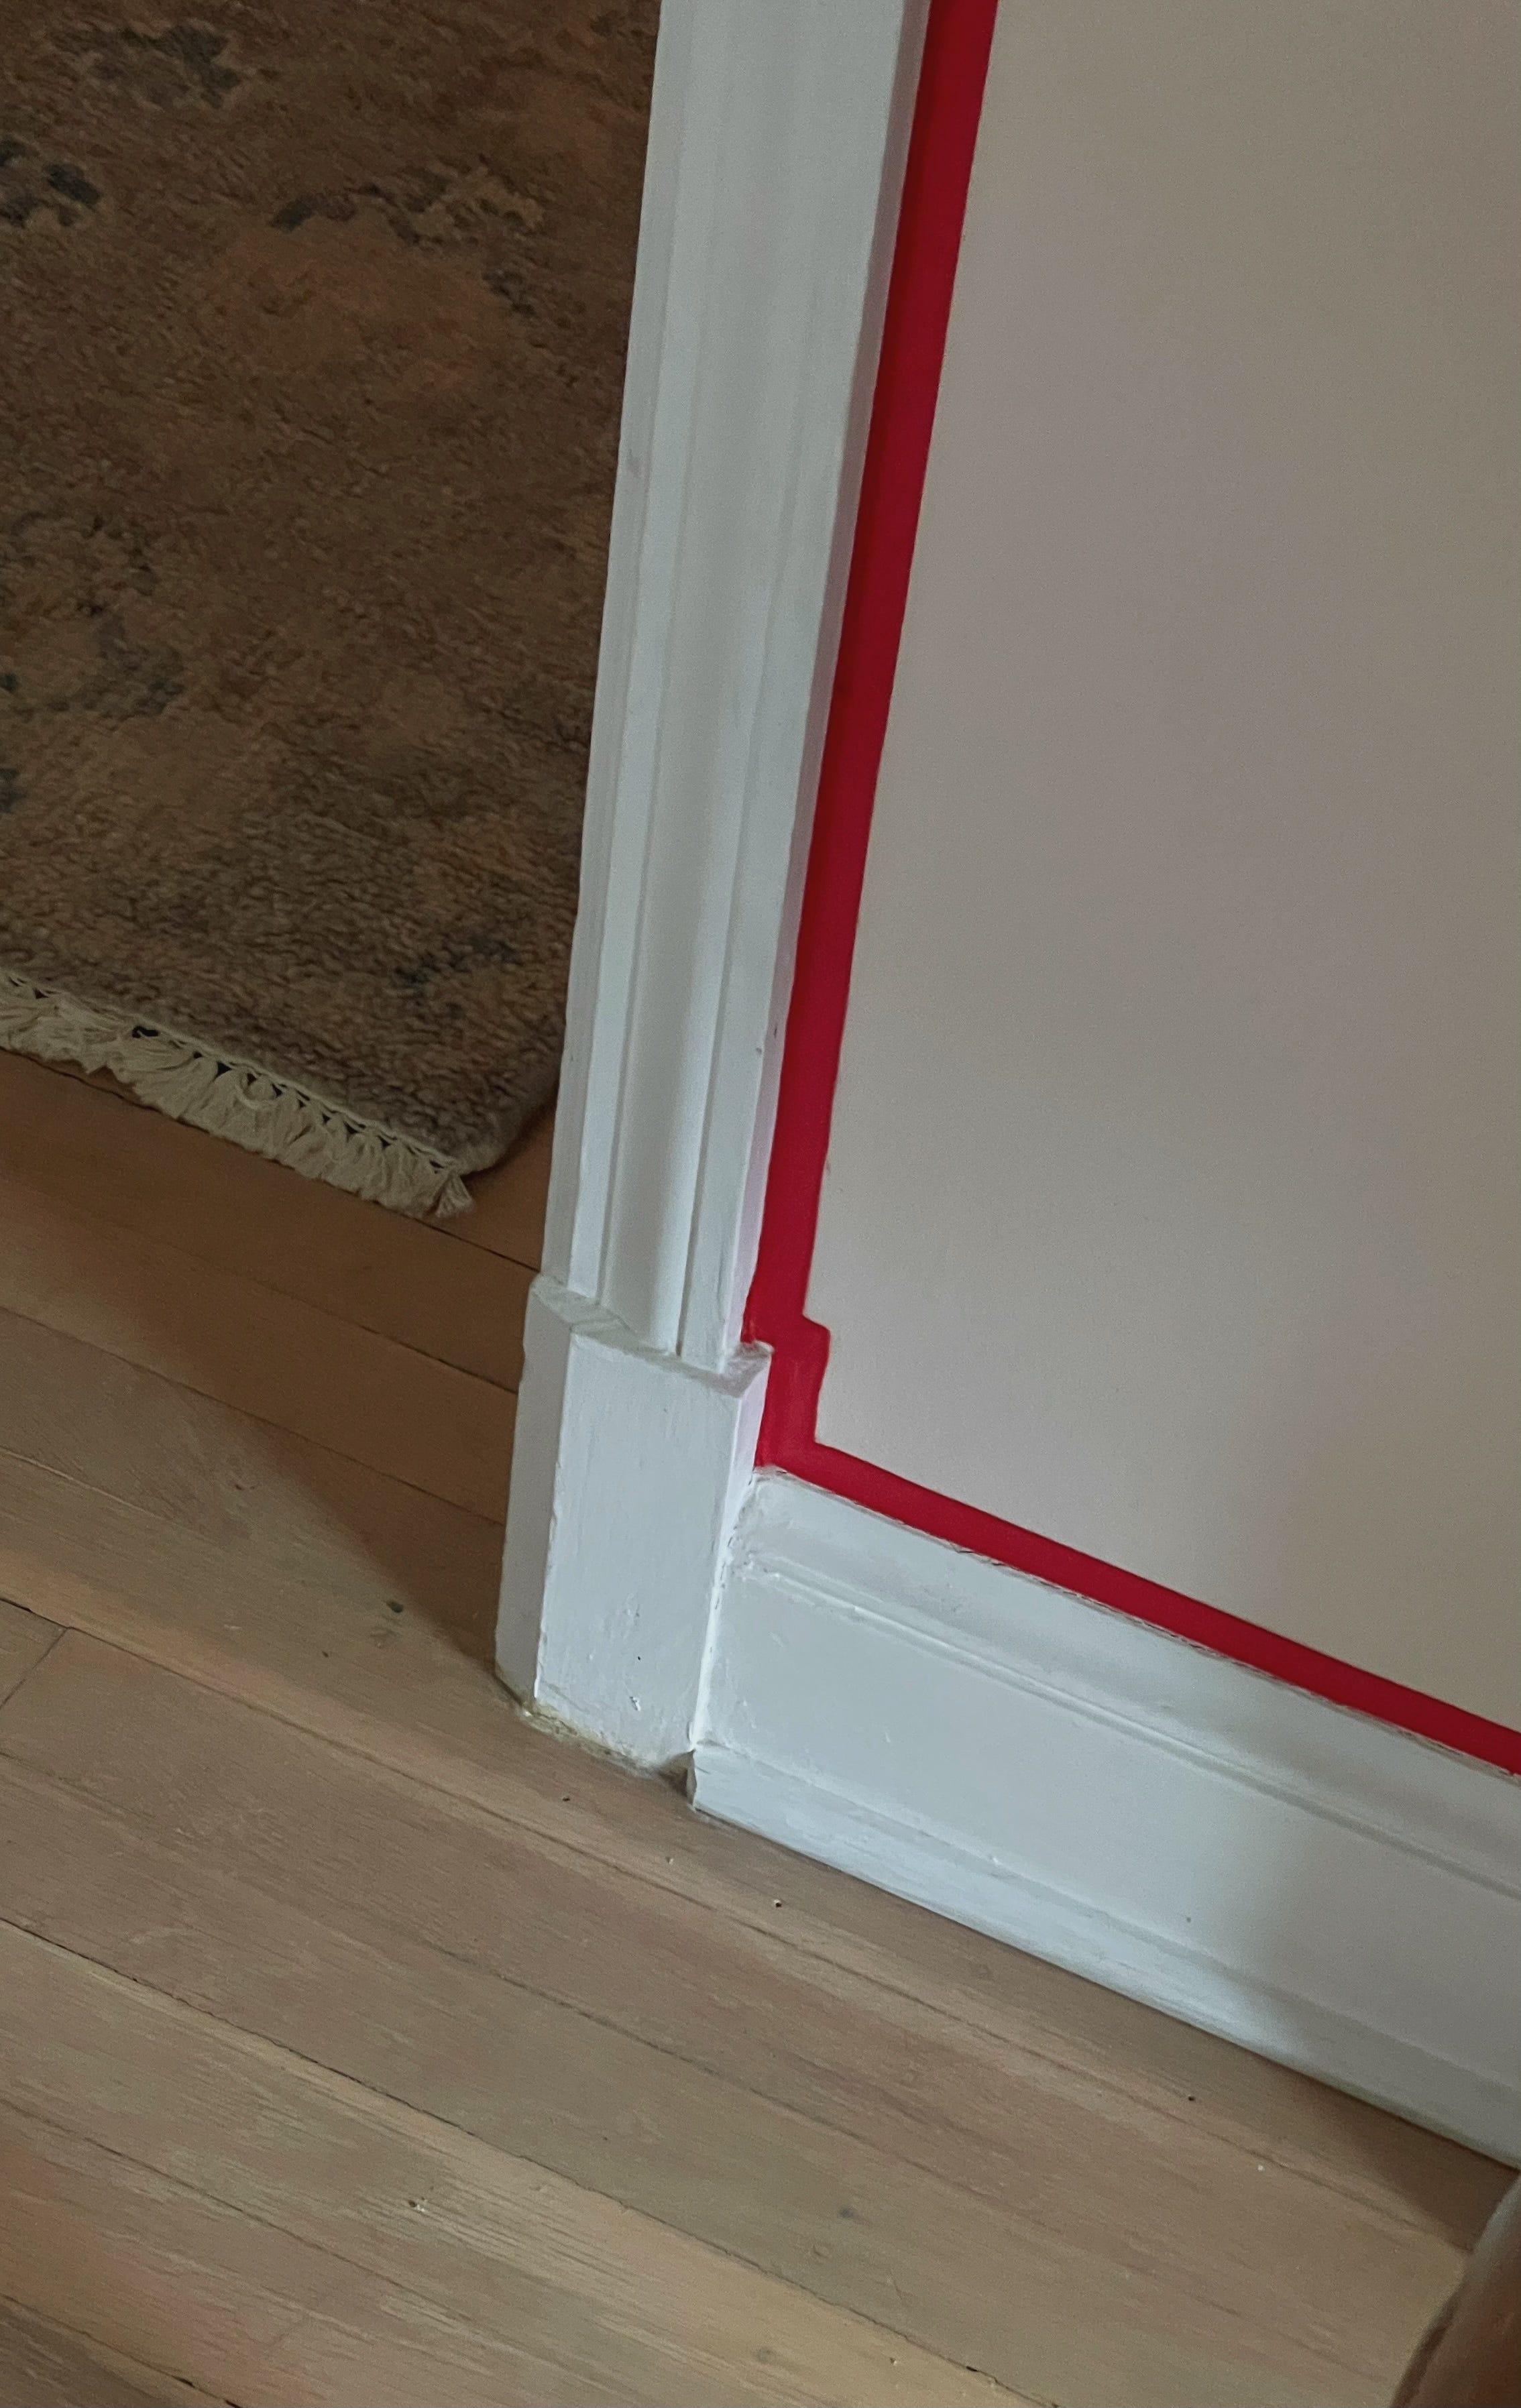
This concept can be executed with almost anything- ribbon, fabric, cording, wallpaper, and on and on. But for this, I used a simple grosgrain ribbon in red to give my pink living room a pop. You can use any size (I used 5/8”), but the most impressive thing about this project is that it’s adhered with a purple Elmer’s glue stick. Yep, the kind you used to crafts with as a kid.

My super talented designer friend Connor Lucas told me that’s how they do it at his firm, Redd Kahoi, and if you’re familiar with their work, you also would not question it. He told me it’s what their installer uses, and it’s also SO EASY to apply- it also works on painted walls or wallpaper, for that extra special touch. One quick note: you will burn through these glue sticks so fast, so I recommend buying a jumbo pack just in case. Apply it liberally, because it dries clear, and we want to make sure the tape/ trim/ ribbon really sticks to the wall.
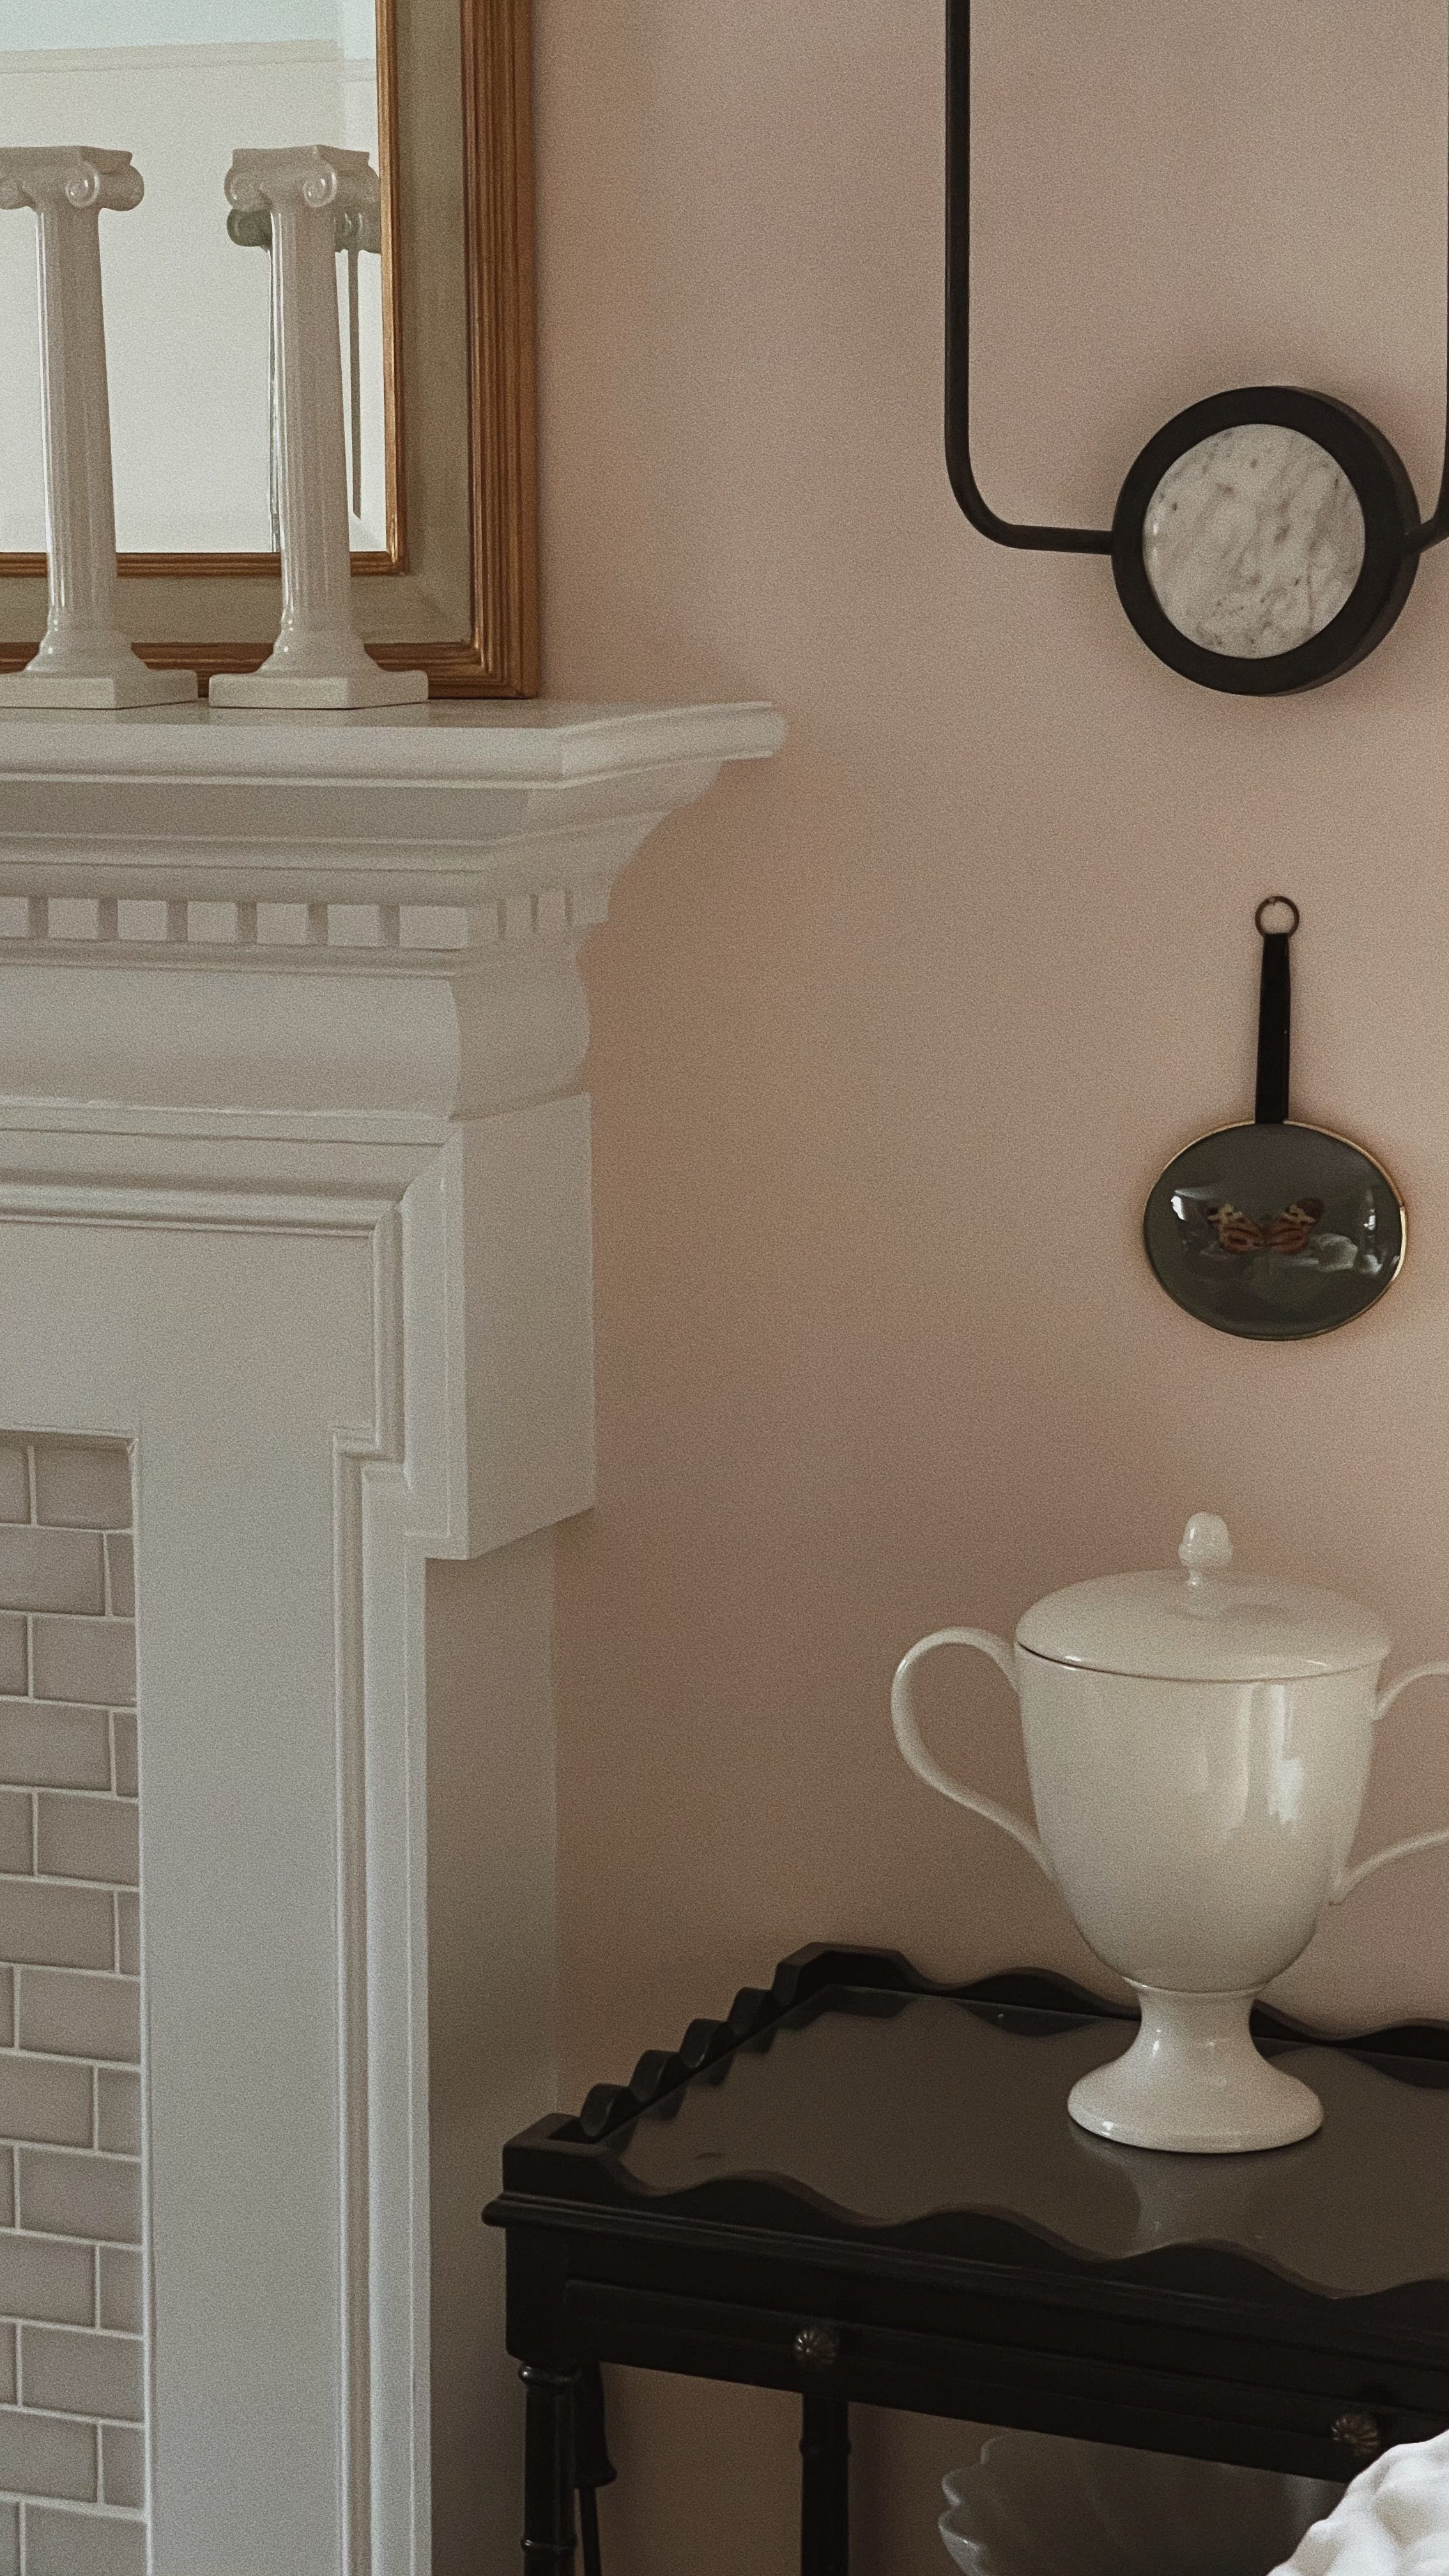
Here’s what my living room looked like before I added the trim: fine, pretty, sweet, etc., but was missing that POP of contrast and interest.


Especially around the fireplace, I thought it was missing something that made it feel interesting and cool.
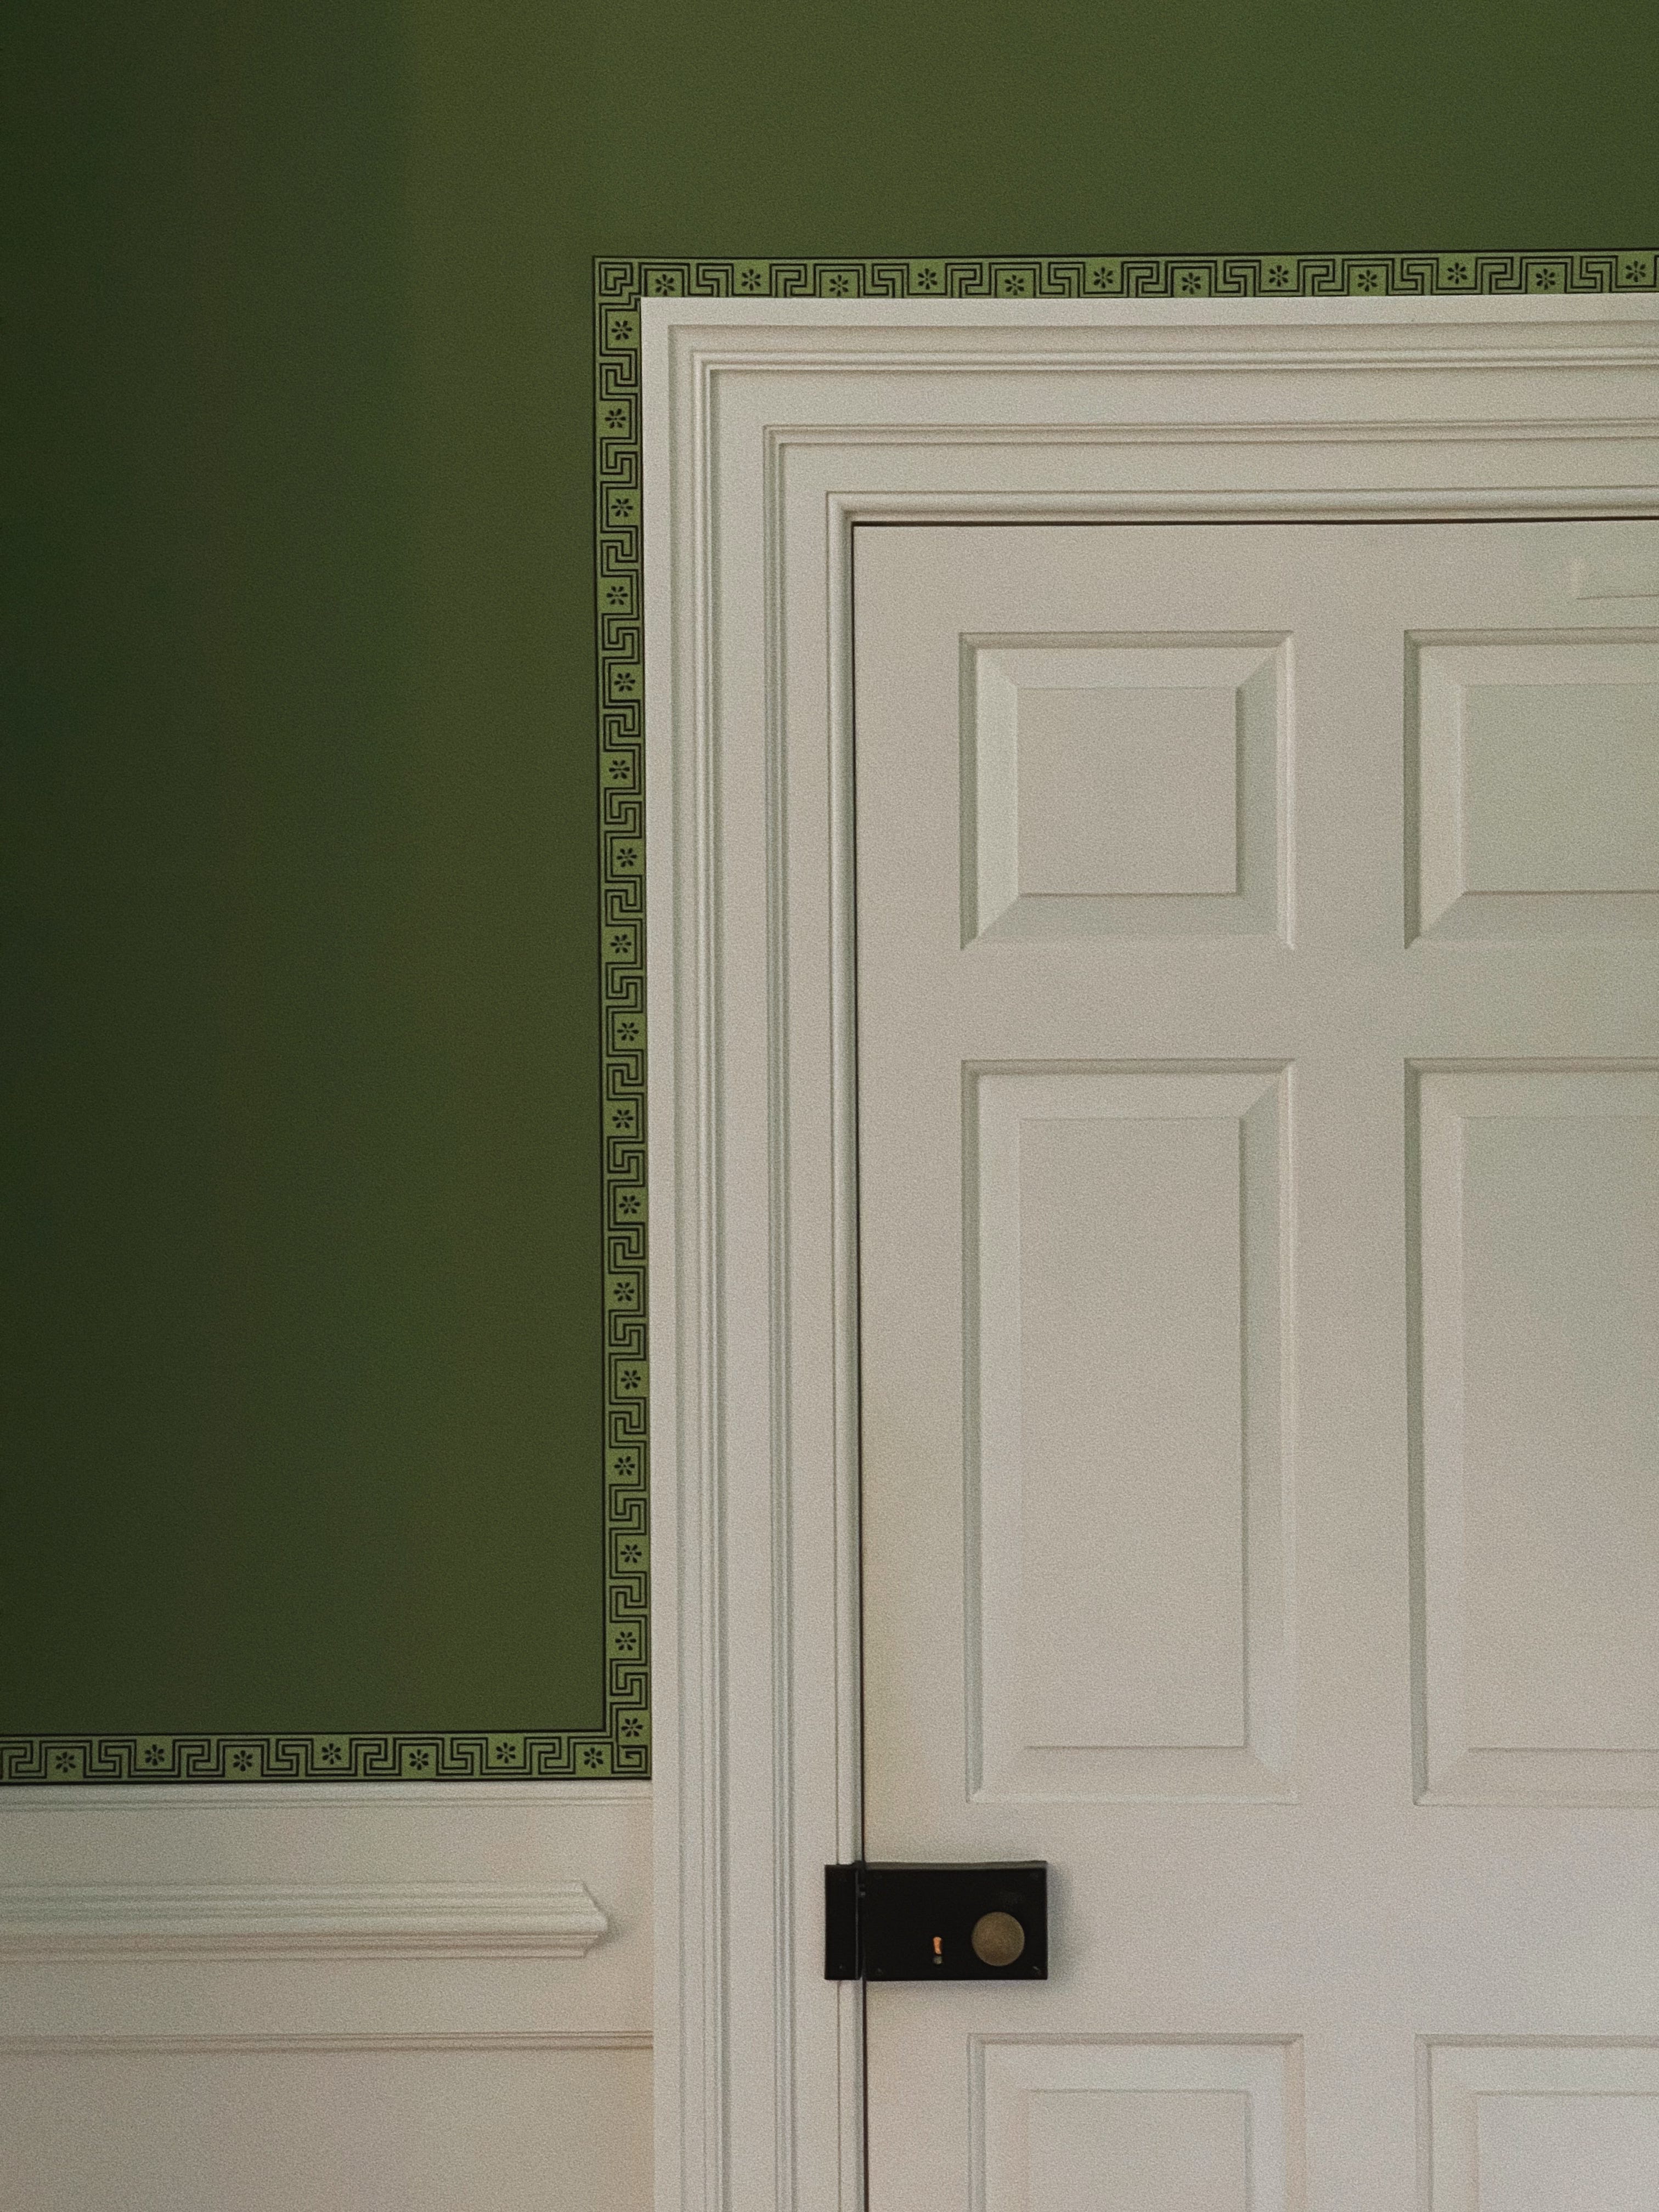
So, I decided to add it around the baseboard (and mantel) around the room, but also finish it off at the top of the wall by bordering a small trip of millwork I’d added a few years earlier. That’s the fun thing about this- you can add it to the crown molding, baseboards, windows and doors, fireplace, and even corners of the room to create borders and edges- I suggest adding it around whatever you want to highlight. Think of it like using a crayon to color a dark border line around your drawing before lightly coloring in the insides, just like you did when you were a kid.
Once you get going, it actually moved pretty fast. You can do this by yourself, too, so it really doesn’t take much time or money to add something super custom to your space!
And here’s what it looks like, after. I did this over a year ago, and it has held up so well as if I just did it yesterday, so I guess that speaks to the staying power of purple Elmer’s glue sticks more than anything.


And a fun peek at a room in the Gables that I haven’t really shared before- I just recently painted this room a warm tan ochre (Sherwin Williams Anjou Pear), and I did the exact same thing with a 1” deep navy grosgrain ribbon around the edges. I’ll share more of this room soon!
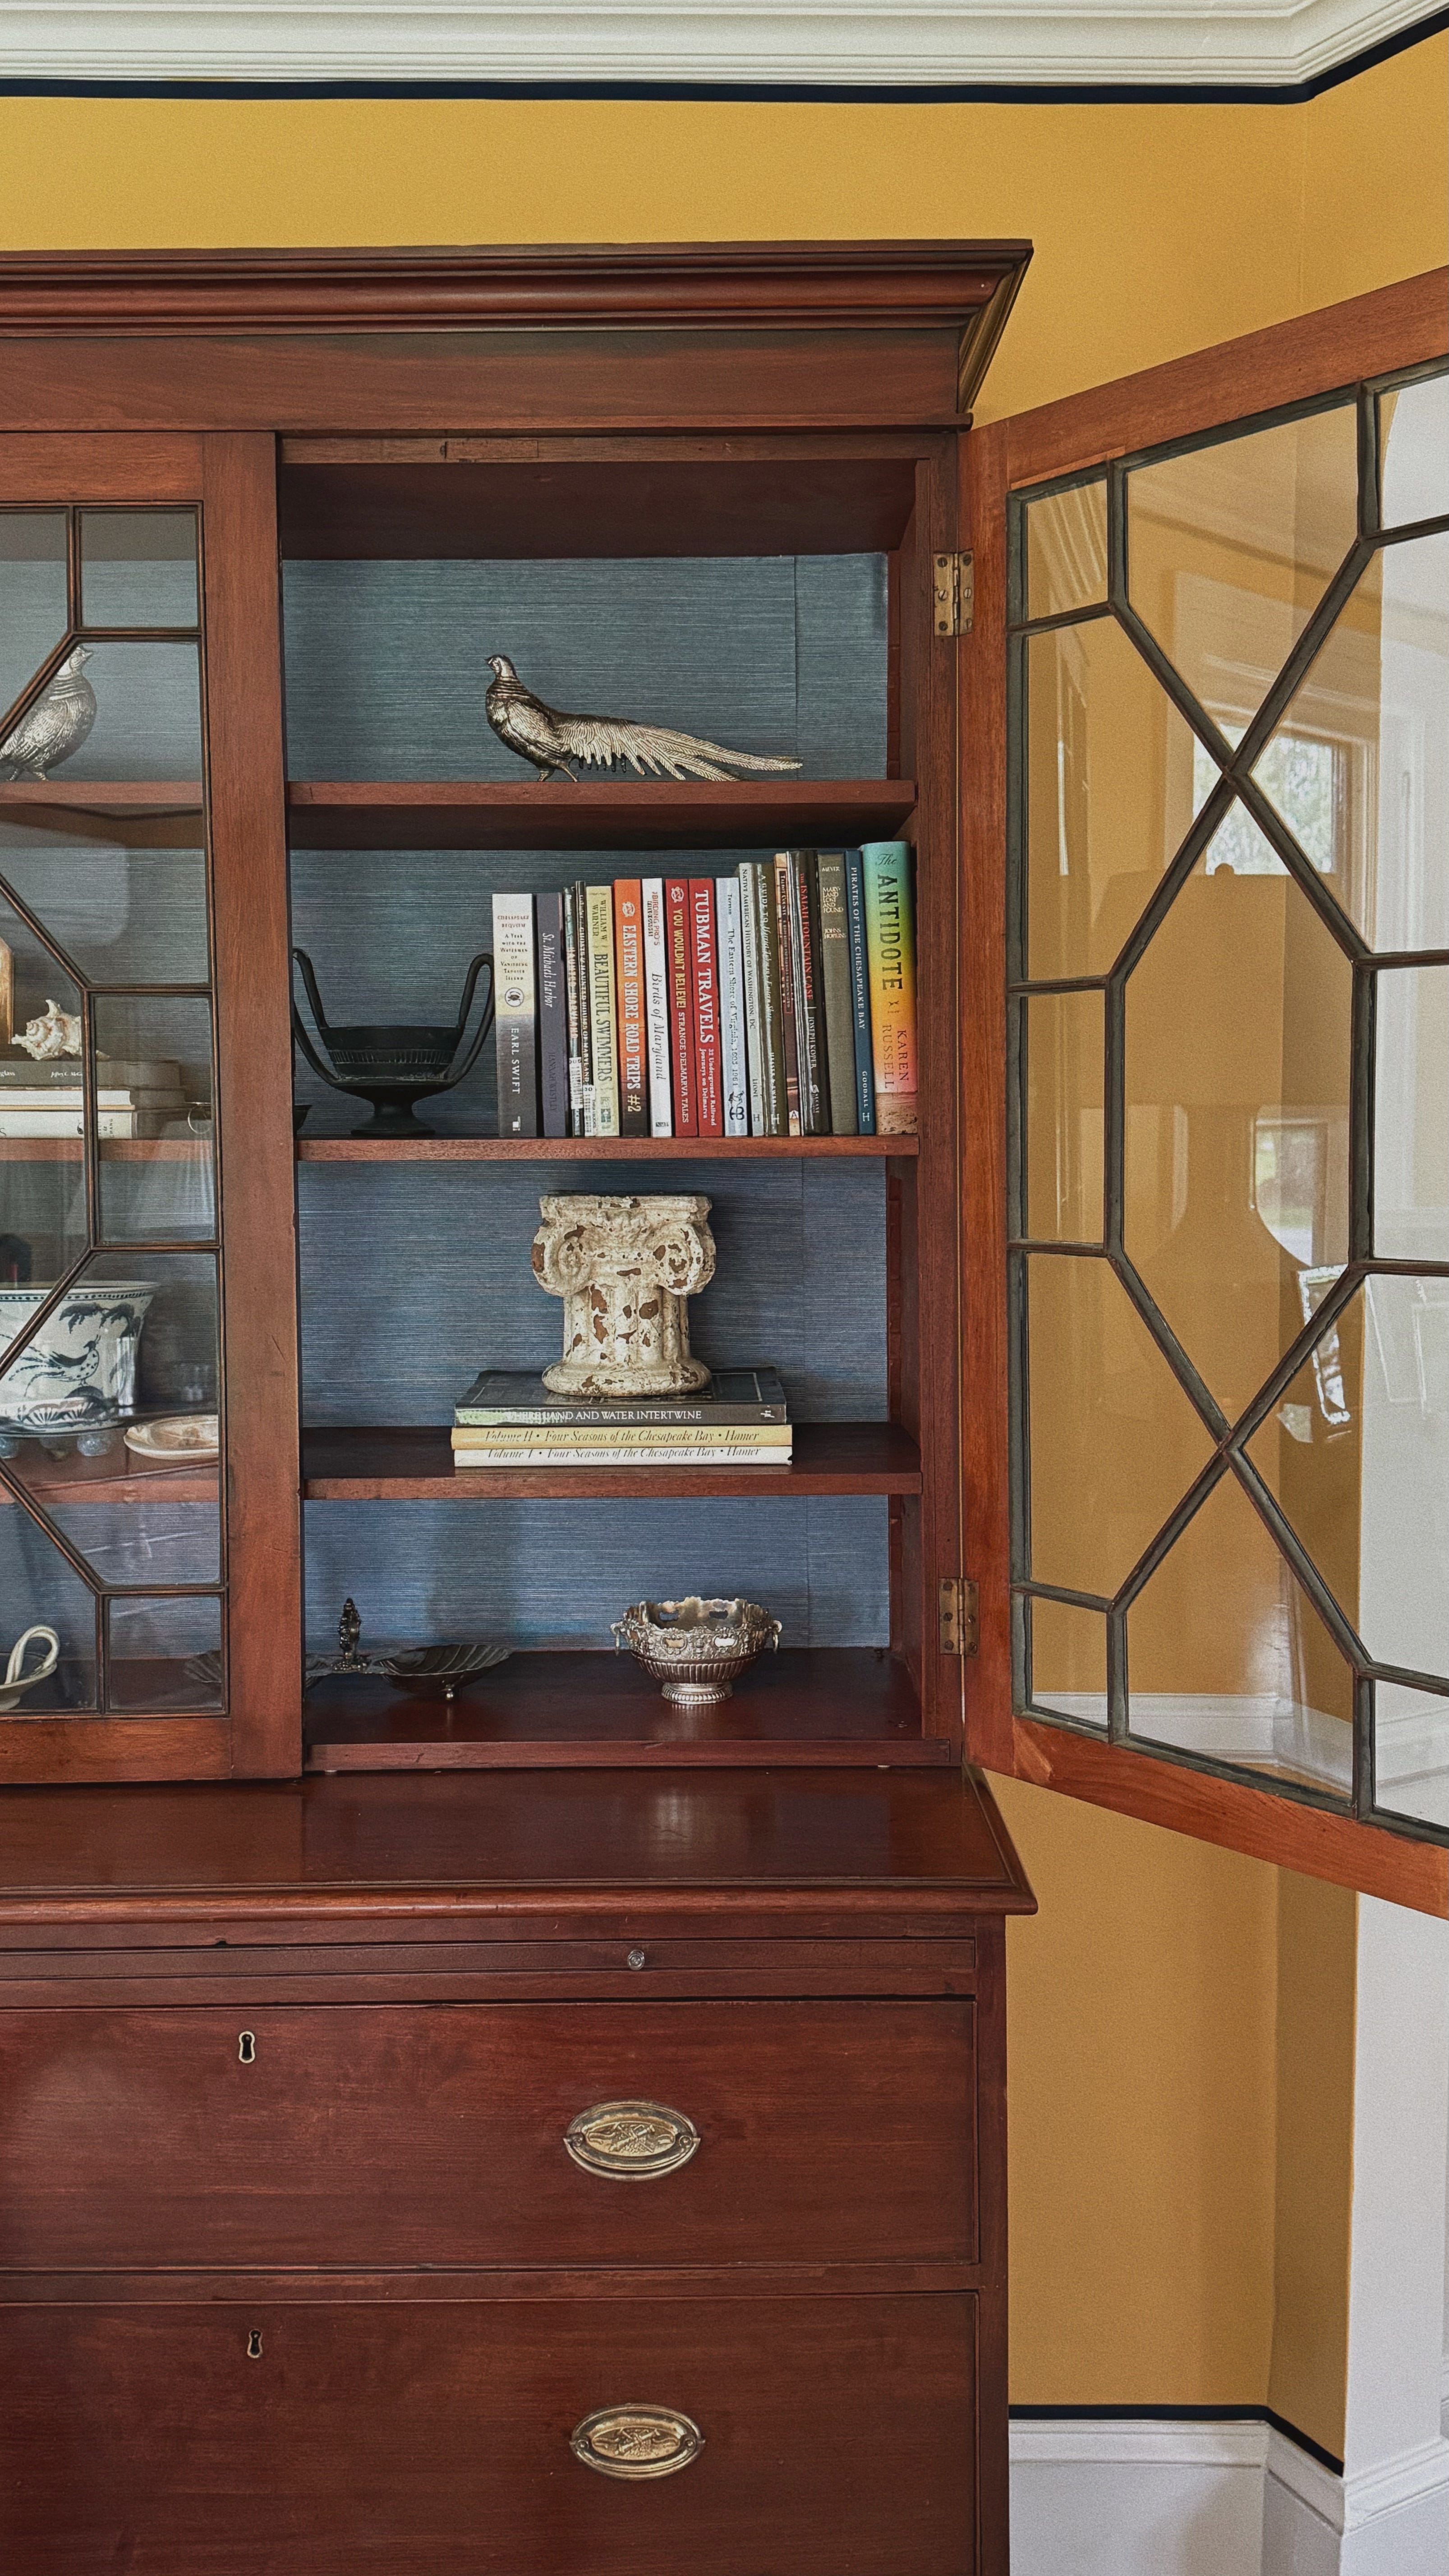

So, what do you think- would you do this in your home? I really think you should. I’m currently plotting the ways to bring this idea to a few other rooms with wallpaper, so I’ll keep you updated on how that goes!

I did this in our guest room and I’ve been thinking adding it to our hallways upstairs. It’s wallpapered in William Morris’ Willow bough and would love some trim to make it extra special.
Thinking of doing it in our snug—seems like such a great detail with low risk, high reward!